Bathroom renovation is not an easy task, because it involves not only the waterway but also the circuit, lots of removals, and installation work. If there is an error in the process of the order being reversed, the whole project needs to be dismantled and redone. Therefore, when renovating a bathroom, it is necessary to determine the correct process of the task, including preliminary preparation, construction process, etc., to ensure that the quality of the construction will not affect the service life and comfort of the bathroom. The following steps for bathroom renovation will guide you to finish the daunting task easily.
Steps to Bathroom Renovation:
Now let’s go further into the 2 parts of a bathroom remodel stage: preparation work and renovation process.
Preparation Work
1. Make a Plan for Bath Renovation
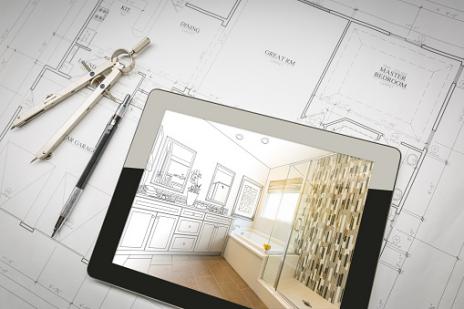
A proper plan is very crucial for bathroom restoration, especially for those people who want to diy bathroom renovation, you need to draw a floor plan of the current bathroom decoration and your new bathroom makeover ideas; meanwhile, you have to learn about the prices of all necessary materials you need, you should bear in mind that budget is another key element that influences you how to plan a bathroom renovation.
2. Prepare the Essential Tools
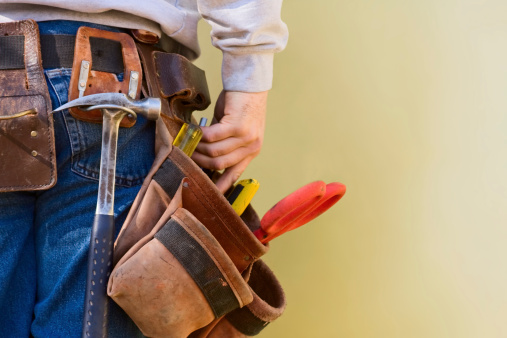
Renovating a bathroom by yourself can be cost-effective, you must prepare basic tools to ensure the progress of your DIY project. Check the following list to make sure you have all the necessary tools in hand.
Protective gear:
Gloves
Goggles
Safety mask
Tools:
Hammer/Chisel/Tile saw/Hand saw/Power drill/Flooring trowel/Tile spacer/Bucket/Grout float/Level/Extension cord/Silicone sealant/Spackle knife/Caulking gun/Hacksaw/Pry bar/Adjustable wrench/Flathead screwdriver
Besides the above basic tools, you may need additional devices depending on the exact bathroom remodel type.
If you don’t have these tools, you can go to the nearest home improvement store to rent them.
Renovation Process
Let’s begin to see what are the steps in a bathroom renovation in the actual operation process.
1. Remove the Existing Bathroom
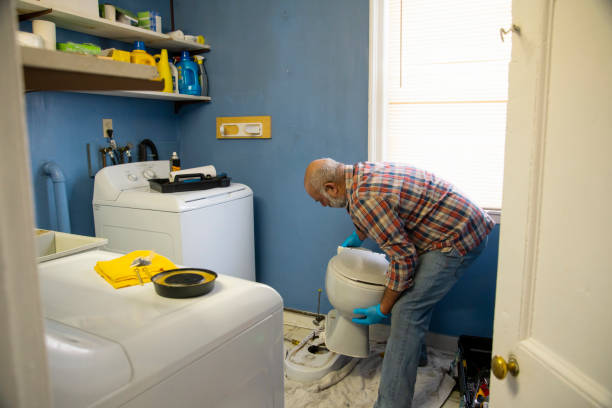
It will be a disaster if you demolish the current bathroom in a causal way, you have to follow the proper sequence: first, cut off the electricity and water supply, then dismantle all the electrical appliances, such as radiators, next remove all the furniture, for example, vanities and mirrors, lastly tear down all items connecting to pipelines, like toilet, shower, and bathtub.
Please keep in mind that you should leave your light working till the end to guarantee your renovation effectiveness if there is not enough natural light in your bathroom.
2. Remove Old Floor and Wall Tiles
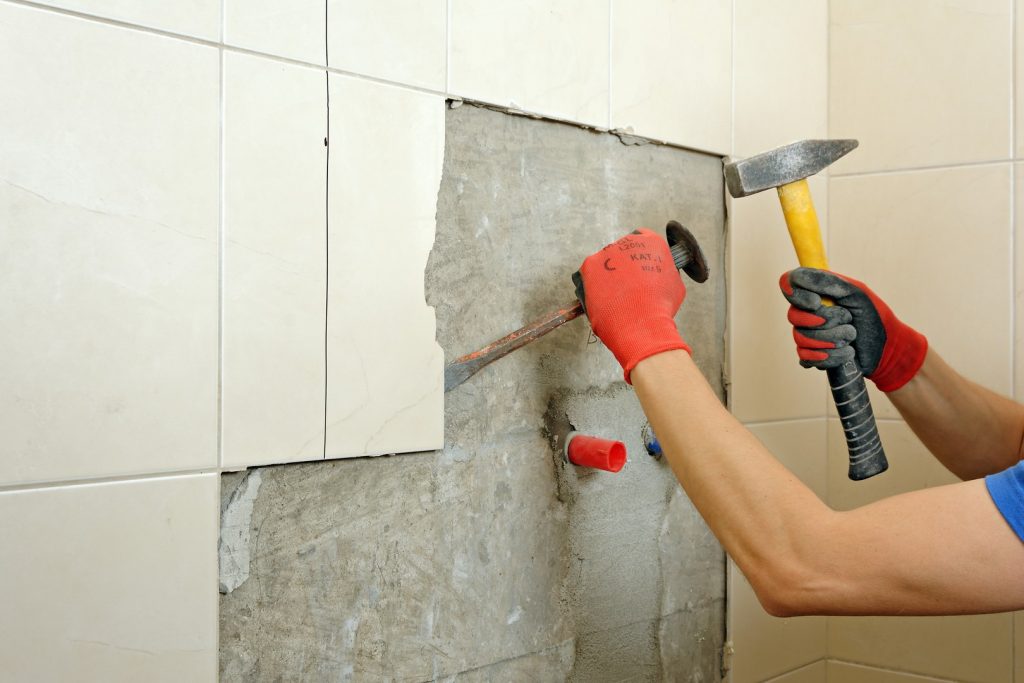
Compared to step 1, step 2 is easier to start, just remember to dismantle the skirting board first, then tap floor tiles and listen to the sounds, find one tile that sounds not very tight, crumble it with the appropriate tool, and next you can easily remove all the rest tiles, remove remaining adhesive and grout. The same procedure for removing floor tiles applies to wall tiles.
3. Adjust the Plumbing
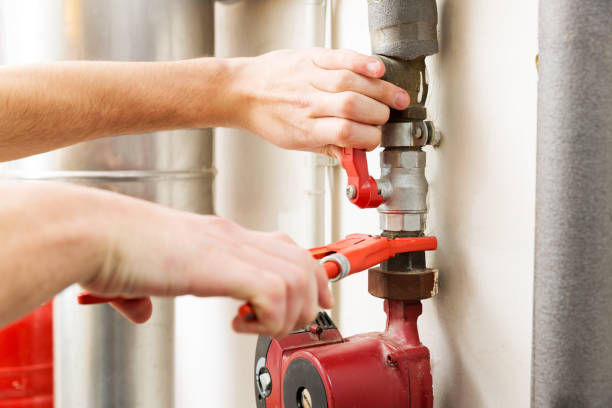
It depends on how you plan your bathroom restoration, you may need to install a drainage channel, move a waste water drainage point and eliminate water supply points.
4. Join in the Electrical Project
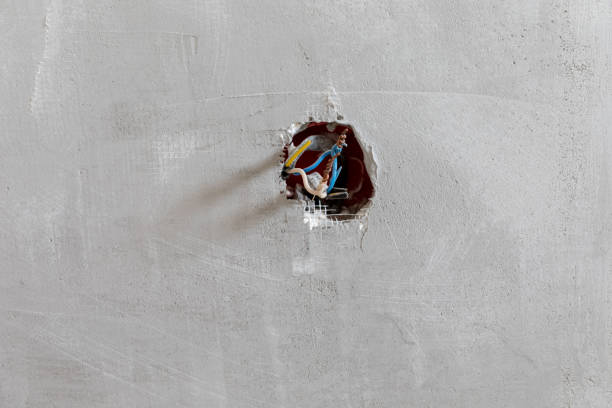
Like plumbing adjustments, the electrical work should be updated to conform to the layout of your new bathroom. Bathroom electrical wiring needs to be installed according to the special requirements, make sure to fix the electrical appliances with the corresponding protection (IP) rating for safety reasons.
When renovating a bathroom, always check the existing electrical wiring and sockets and make sure they are in good condition before you install a new socket or just want to replace it with a new one.
5. Renovate the Walls and Floor
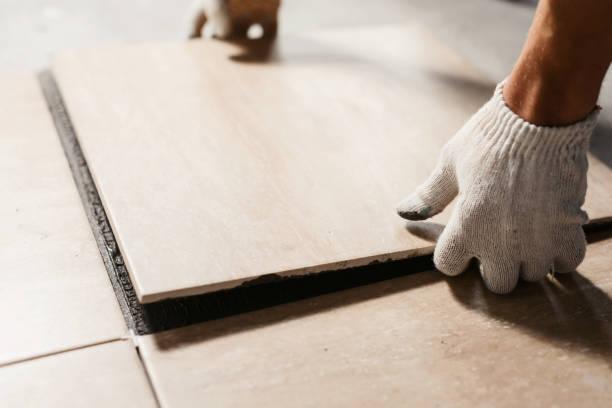
As opposed to the dismantling process, walls must be renovated before the floor, it will protect your floor from being damaged if there are happening some accidents in walls renovation.
When choosing wall coverings, you must consider high humidity and water splashes issues, so the best options are waterproof paint and wall tile. Make sure the wall surface is smooth and perfect if you prefer painting, and the formula of painting must be long-lasting and withstand humidity to prevent mildew growth, while tiles don’t demand such high requirements for the wall.
Next, let’s move to floor tiles. If you want a non-slip floor, matte tiles, or tiles with textured surfaces are your first choice, they have a stronger grip ability but are also easy to hide stains; if you prefer polished tiles like porcelain or glazed tiles, they are easy to clean and make the bathroom looks more spacious owing to the virtue of light reflection, it is the wisest decision for small bathrooms, but they are more slippery than matte tiles. Don’t forget to go for mold-resistant grout between tiles, there are many grout color options provided to match your bathroom decoration style.
6. Install New Vanity and Cabinet

Once the walls and floor are finished, it’s time to install the new vanity, vanities come in various materials and styles, you need to measure the dimensions of the space pre-reserved for vanities, don’t forget to check if there are obstacles when opening the doors and drawers. Then, install the mirrior, cabinet and other aesthetic decorations.
7. Install the Sanitaryware
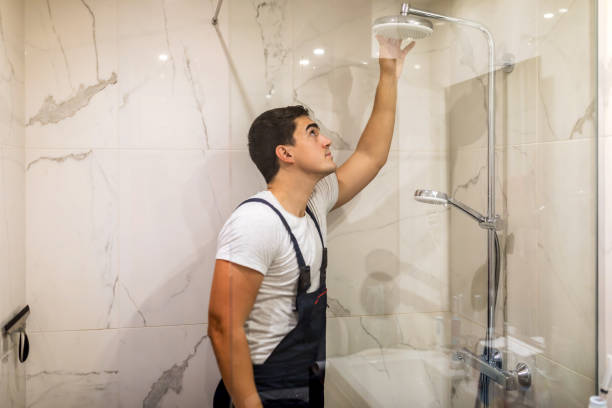
Now we come to the last step — install those items that need to be connected with water plumbing, such as shower kits and columns, toilets, and bathtubs, it is because we must avoid any unnecessary water spillage issues or potential plumbing problems.
After reading the text, have you mastered these steps of a bathroom renovation? The bathroom renovation timeline must be treated carefully, only in this way can you avoid a lot of trouble in the future living process.
0 Comments for “7 Bathroom Renovation Steps: The Complete Process for a New Bath”