Installing a brand new bathtub requires first setting up a solid foundation to support the tub’s hefty weight. The bathtub frame should be installed according to the appropriate size so that the bathtub is secure in place while supporting it. In this article, we outlined a step-by-step process for how to properly build a bath frame for tiling and other general bathroom surfaces. A few helpful tips are also included for effectively reinforcing and strengthening the frame to support the bathtub weight on even or uneven flooring.
- Why Do You Need to Build a Bathtub Frame?
- Tools and Materials Needed for Building a Bath Frame
- Step-by-step Guide on How to Build a Bathtub Frame
- Tips and Warnings

Why Do You Need to Build a Bathtub Frame?
Bathtub frames are essential to keep the bathtub secured in place with the flooring and any surrounding walls or platforms. The frame is a general base so that the bath is properly fitted for added support and rigidity. Especially since bathtubs can come in varying sizes, shapes, and forms, a solid foundation to keep everything in place and properly contoured to match the bath design is essential for a steady and safe bathtub.
Tools and Materials Needed for Building a Bath Frame
- Circular Saw
- Ear Muffs
- Combination Square
- Hammer
- Pencil
- Spirit Level
- Nail Gun
- Caulking Gun
- Safety Gloves
- Tape Measure
- Timber Wood for Frames
- Bathtub
Step-by-step Guide on How to Build a Bathtub Frame
Through the following systematic guide on how to build a bathtub frame, the bath frame construction will be broken down into small digestible steps for an easier and simpler process. The guide also goes over details like how to frame a bathtub properly and how to frame a bathtub shower combo. But first, what size timber for bath frame is best? Generally, 18mm of plywood along with 4×2 timber should be enough to support most bath frames without any issues.
1. Draw line markings on the walls to outline the bath frame height
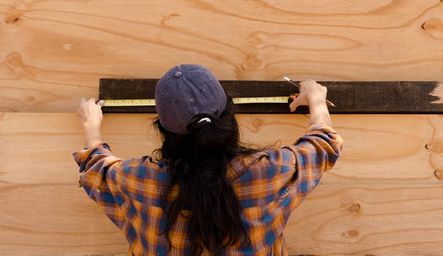
Obtain the exact height measurement of the bath, then add onto it an additional 8cm or more and mark that height on the wall. This marking will serve as the height of the bath frame, with the added 8 cm included in case the floor heights differ. Especially since the flooring can sometimes be uneven, the 8 cm allowance ensures that any height differences will be accounted for so that the bathtub fits regardless.
2. Install frame support by lodging noggins between the wall beams
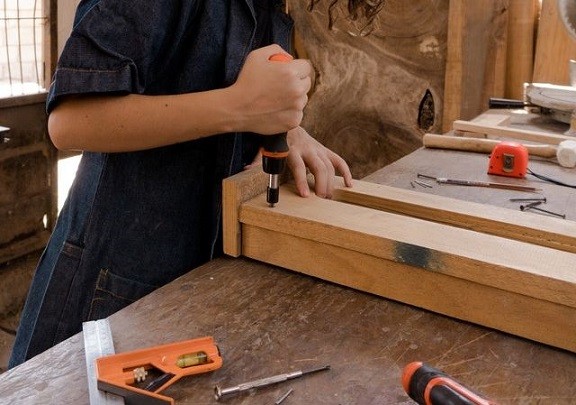
Along with the height marking, measure the space between the wall joists. Using a circular saw, cut out spaces for inserting the noggins, which will be nailed using a nail gun between the gaps. Placing noggins between each joist allows for added support, which also helps in securing any external linings.
3. Measure the frame sides then cut them
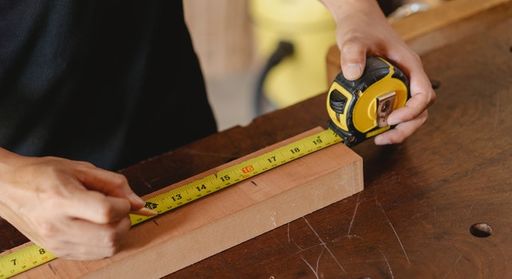
Situate the bath to be positioned with its rear end 7 cm from the wall for frame allowance. Then, take the measurements from the long end of the bath to the wall and add onto it an additional 7 cm for frame allowance. Using the measurements, cut four planks of wood for the bottom sides and top of the frame support.
4. Outline the vertical stud positions of the bath frame
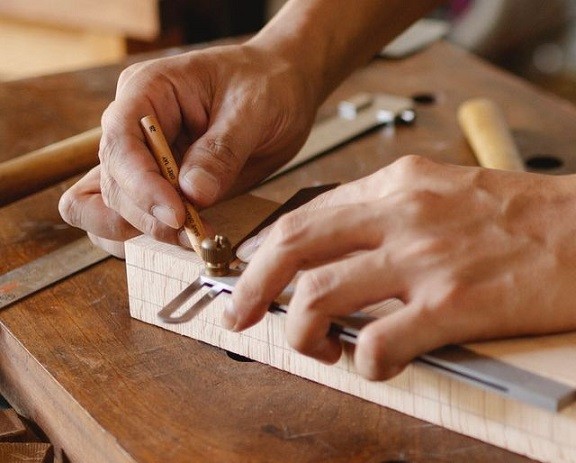
Outline the areas where the vertical studs will be installed on the bottom and top plates using a pencil. After marking their designated spots, place a stud on every end, with the rest having an even spacing of 60cm along with the frame. The even spacing is a preparation for more easily covering the frame later on.
5. Put together the bath frame sides
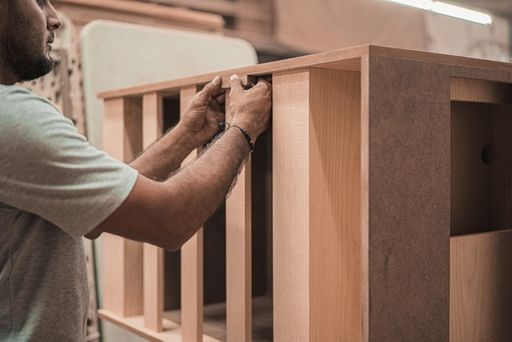
Cut out eight vertical studs, which are all 9.5cm less than the desired frame height. The 9.5cm difference allows the studs to be shorter than the frame height for the thickness allowance of the bottom and top plates. An additional 0.5cm may be added for any difference in floor heights. Fabricate the two frame sides by nailing the studs into position between the bottom and top plates.
6. Install the frame sides
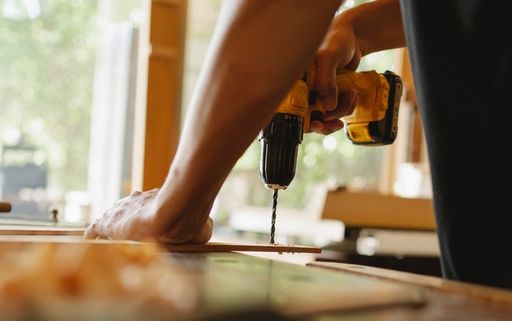
Position one frame side against the wall and situate the other side to be parallel. The frame sides can be separated by the total width of the bath less than 3cm. The appropriate amount of space should be enough to fit the bath with the sides having a ledge to lean on. After positioning the sides, install them into place with nails.
7. Construct each frame’s end
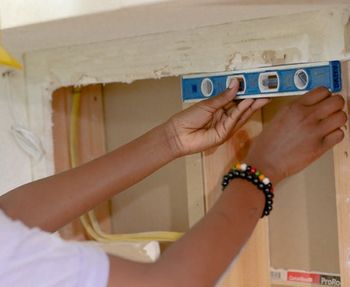
Align the outer edge of the bath frame using the spirit level and measure the space between each side. The measurement will be used for the width of the back pieces of the frame, which will be cut accordingly for the bottom and top plates for each end. For each frame end, cut out three vertical studs of the same length. Assemble the ends by nailing between the bottom and top plates with three studs each.
8. Install the frame ends
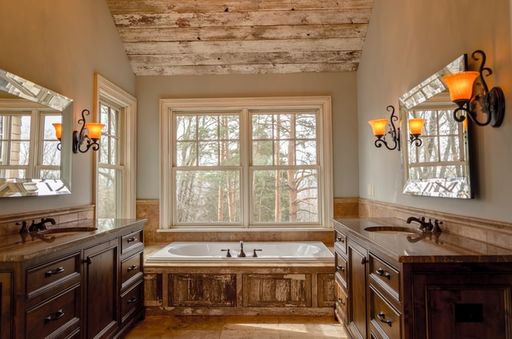
The bath frame is positioned and fabricated and now needs to be secured into place by using a nail gun to nail the ends. If any of the frame ends do not have any wall for support, then ensure that the vertical edges are straight before nailing them into place. The bath frame is now ready to hold different types of bathtubs, which should be fitted in to ensure that the frame reinforces all sides.
Tips and Warnings
Renovating outdated and older buildings may result in encounters with hazardous chemicals and substances like lead-based paints, copper chromium arsenic, and asbestos. Older buildings tend to contain these harmful substances and should be taken into consideration especially since they can cause a number of deadly diseases and health conditions such as cancer.
Safety should always be a top priority in construction work and should be conducted using the proper tools and safety equipment. Furthermore, the instructions and safety precautions should be followed accordingly with caution to prevent any injuries or accidents.
Conclusion
Building a bathtub frame depends on the bathtub dimensions since the frame will need to be constructed to comfortably fit and secure the bath into the attached floor, walls, or platforms. The process of bath frame construction can be simplified into simple steps along with the appropriate tools and materials as mentioned above. Calculated measurements and a systematic approach are essential for successfully building a secure and sturdy bath frame.
0 Comments for “How to Build a Bathtub Frame”