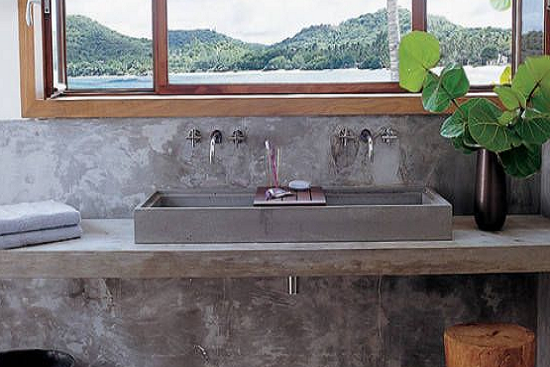
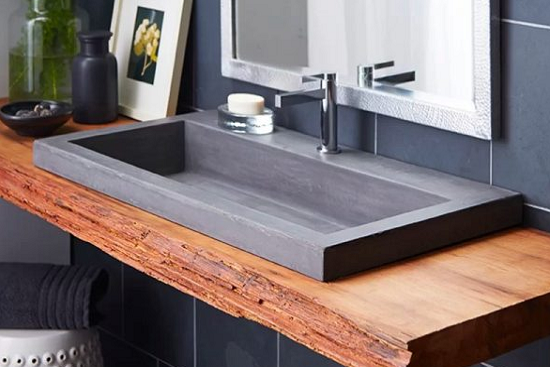
You may want to know how to make concrete basin if you desire to create a bathroom sink with your personal touch. Bathroom sinks aren’t that expensive if you ask my opinion, but making your own concrete basin is much cheaper but time-consuming and arduous, to say the least. However, it is very for a DIY sink to be done.
In today’s discussion, I will provide you with the essentials of how to make a concrete basin and other useful tips that can help you achieve an aesthetically pleasing fixture for your bathroom.

Materials/Tools Needed
Before you can begin making your own concrete basins, you have to gather the necessary materials/tools that you’re going to use for the job—
- Cement Mixture – Quickrete 5000 or any concrete mixture with a similar consistency
- Mold release wax and sink mold
- Silicone
- Denatured alcohol
- Release and cleaning agents such as the Crete-Lease 880 LOV
- Foam or rubber-sink knockouts. However, it’s recommended that you go for the rubber-sink knockout if you are aiming to save money
- Melamine sheets
- Two pieces of 48” wire mesh or rebar
- Rough rock edge liner. This item is optional for concrete basins projects
Now, listed below are the tools required for the project—
- Angle grinder
- Sawzall, concrete vibrator, or sander. You can use them without the blade; their primary purpose is to vibrate the concrete
- Turbo cup wheel
- Fine 120/220 grit sandpaper
- 11/2-Inch Sink drain pipe
- 11/2-Inch drywall screws

Step by Step Instructions on How to Make a Concrete Basin
The following is the step-by-step guideline you have to take in order to create your concrete basins—
First Step: Prepare the Lower Form
First and foremost, you need to build the frame or lower form. Take the frame and screw them together using a drywall screw and silicone on the edges to seal the holes and hold the form together. Also, you have to take note that there’s an additional ½ inch for the rough rock liner.
Place the sink mold model in the center. And then, record the measurement of dimensions of where you are planning to put up the concrete basin. Afterward, coat the frame with mold release wax and rubber sink knockouts to prevent it from sticking.
Step Two: Prepare the Upper Form
The procedure for the upper form is similar to the step mentioned in the previous section. Once you are done doing so, place the upper form on top of the lower form. Afterward, clean the frame with denature alcohol to get rid of debris and any excess silicone. And then, spray another layer of mold and release wax to prevent the mixture from sticking to the frame.
You can also add rebar and wire mesh to reinforce the structure of vanity basins.
Step Three: Pour the Concrete Mixture
You can prepare the concrete mixture by referring to the guidelines provided on the packaging of the brand. Once you are finished, carefully start pouring cement on the lower frame. Afterward, use Sawzall, concrete vibrator, or sander to prevent any bubbles from forming. Repeat the process to the upper frame.
Cover the concrete with plastic and let it sit there, and cure for about four days before resuming.
Step Four: Refining the Sink
After the cement solution has completely cured, remove the frame and mold. Once you have removed the frame, use sandpaper to fine the surface and expose any bug holes. If there are indeed holes, you can coat them to fill up the holes and gaps.
If you are not particularly fond of the concrete surface, you can also add acid stain to give your bathroom sink a more aesthetically pleasing and stylish appeal. Lastly, apply several coats of concrete sealer to completely shut the gaps.
Useful Tips
To ensure the entire project will be successful, the following are additional useful tips—
- Make sure that you know what bathroom fixture you are modeling the DIY sink to. In this way, you will know the proper measurement of the space you are going to install the fixture
- Complete the sink model frame first before you seal them with faucet knockouts. By doing so, it allows you full mobility to the sink model frame
- In applying the concrete sealer, you will need to use a paintbrush roller in order for you to make the work faster
Takeaway
Although the process of creating concrete bathroom sinks could be an arduous task to do, it could be a fulfilling job once you have seen the fruits of your labor. You also have to keep in mind that a stone basin is another different topic that may require the help of a stone mason.
In any case, doing a DIY version of the fixture and knowing how to make concrete basin on your own is essentially much more cost-effective and easier to maintain.
Frequently Asked Questions about How to Make Concrete Basin
In this section is a list of some of the most commonly asked questions about the subject matter of how to make concrete basin—
Common concrete is susceptible to erosion, especially if they are exposed to water with a mild acidity level for prolonged periods. The acid in the water will particularly attack the soft parts of the cement paste and dismantle the sand and aggregate.
With this being said—you will need a concrete sealer with the content of a high-performance coating of epoxy or urethane.
In making a DIY concrete bathroom sink, the early process basically involves using two separate frames, which means that you will have to pour in cement twice. Therefore, the standard thickness of the cement you’re going to use is supposed to be 2 to 3 inches, while the thinness should be at least ½ to ¾ inch.
Yes. Absolutely! If you are aiming to save more money in constructing or remodeling your bathroom, then concrete basins are an excellent choice because they’re relatively affordable, low-maintenance, and cost-effective, so to speak.
0 Comments for “Guidelines on How to Make Concrete Basin at Home”