Home renovations can be enjoyable, particularly if you wish to replace fixtures and re-design your space, particularly your bathrooms. The vanity is a manageable asset in your bathroom that you may decorate by changing the old ones.
Most vanities are helpful, and numerous homes have built-in vanities with cabinets. As a result, you must first slash the furniture to remove it. However, before you execute your knowledge on how to remove a bathroom vanity, you must first analyze the state of everything involved.
Make sure you pay notice to the shutoff valves, p-trap, and supply lines, as well as the other plumbing that services the sink and drain when you disembark the component.
These parts may lose their effectiveness with time and may not be helpful if one breaks during the dismantling of the vanity. If you did remove it and it appears to be old and worn, it may be better to upgrade them.
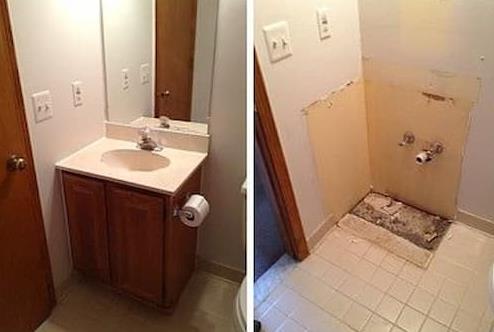
Essential Tools You Need
To start your DIY journey, you must first acquire the appropriate tools and materials to make removal easier. These are the tools to get you started:
Tools and Materials:
Woods
Broom
Bucket
Rag / Spare clothes (for cleaning)
Adjustable Wrench
Knives (Utility and Putty)
Flat Pry Bar
Channel Lock Pliers
Drills
The Step-By-Step Guide
Step 1: Turn Off the Water Supply
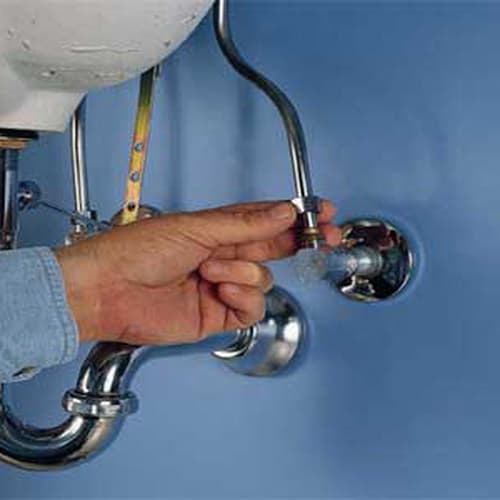
The first step is to turn off the water supply in your vanity to avoid any dirty water flowing when you remove the pipes after removing the cabinet from its hinges. You must turn off the shutoff valve near your vanity to stop the water flow. The first step is to close the valves temporarily by turning them clockwise.
If your vanity does not have its shutoff valve, locate the home’s main water supply, and turn it off for a certain period. After you have closed it, open the faucet on the basin and let the excess water drain completely.
Step 2: Disconnect the Water Supply Tube
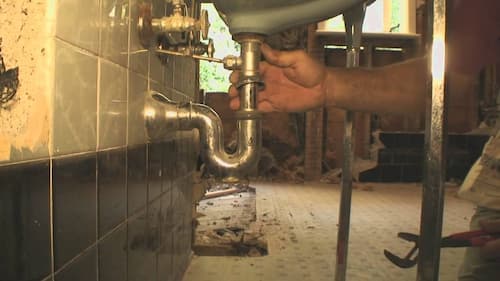
You need to disconnect the water supply tubing connecting the water supply shutoff and your faucet. Remove the tube from the water shutoff and place a bucket underneath it to capture the water that drains. This setup also explains the bucket’s purpose. You must complete this step one at a time.
Using your adjustable wrench, loosen the pressure nut or any hose connector on the supply tube and turn it around. After that, you must remove the supply tube from the valve. Under the compression nut, you may observe a little copper compression sleeve or ring on the line.
Examine everything to ensure that there are no leaks or broken materials.
Bright Tip:
Install new tubes and pipes is the best option when replacing the sink and faucet. It is not a brilliant idea to utilize your existing materials when installing a new vanity because they have a limited lifespan.
Step 3: Get Rid of The Drain Trap
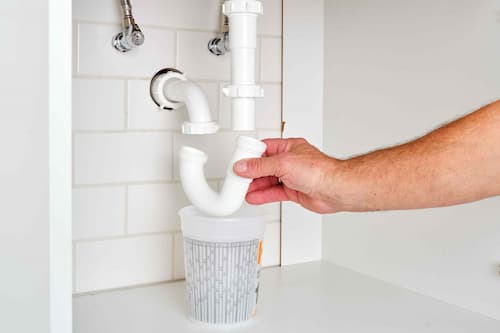
If water leaks, place your bucket under the P-trap assembly during this step. A straight tailpiece portion attached to the drainage pipe extending down from the sink, a U-shaped trap bend, and a long trap arm with an elbow leading to the offshoot drainpipe in the wall makes up the trap assembly.
Loosen the two outermost slip nuts, one on the sink tail and the other on the trap arm on the wall end, to remove the P-trap.
You can loosen the materials with your hands using a plastic pipe. If you used metal, though, you would need the help of channel-lock pliers. Remove it by removing the pipe’s threads and emptying the water trapped inside into a pail.
Step 4: Remove the Mirror from The Wall
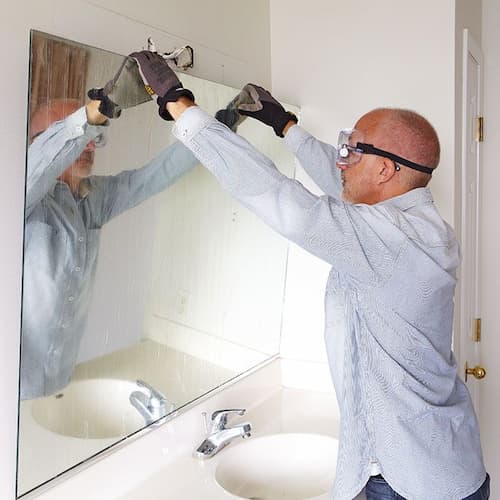
Replacing bathroom vanity requires you to uninstall your wall mirror too. If this item rests on the vanity top or backsplash, you need to remove it so that it does not shatter when you tear the cabinet down. If it is a hanging type or bonded on the back, you can choose to remove it if you wish to replace it with a new one.
To prevent gases from entering the room, stuff a rag or used clothes around the open pipe.
Step 5: You Should Cut Caulk Joints
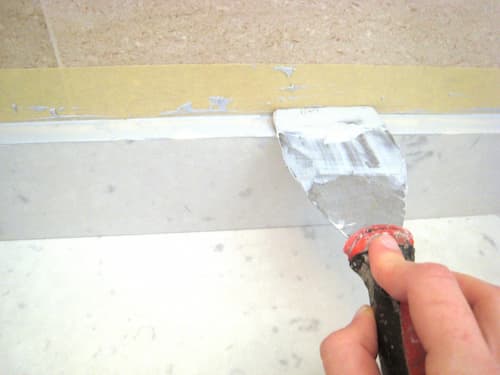
If your vanity top meets the wall and you use a material that adheres to all edges between the countertop and the cupboard, you will need to cut through any caulk with a sharp utility knife.
Also, cut via any caulk where the cupboard meets the wall, so you know how to get rid of old bathroom vanity from the border.
Step 6: Take the Vanity Top Off
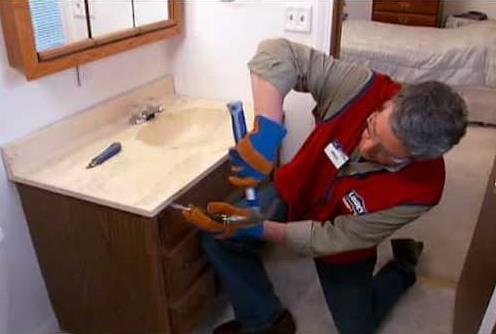
This move is a critical step in replacing bathroom vanity. First, examine under the top to see if any brackets or clips are holding it to the cabinet. If there is, unscrew it or remove the clasp so you can lift the vanity top later. If your top is a solid stone, you may require assistance.
However, if you see that the vanity top bonds solidly to the cabinet, you can remove the vanity top along with the cabinet to make the work easier. After that, you can remove the drawers.
Step 7: Take Out the Vanity Cabinet
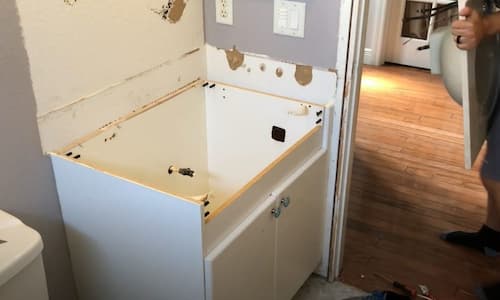
The next step in how to remove a bathroom vanity is to remove the cabinet or drawers attached to it. If you hinged the wardrobe to the wall, uninstall it with a screw through a mounting strip and into wall studs. However, if screwdrivers are not working, you must use a drill.
If you nail the cabinet to the wall, use a flat pry bar to pry it away slowly. To avoid damaging the wall, place a wood block between the pry bar and the wall and lever against it.
Slowly but steadily pull the cabinet away from the wall.
Take extreme precautions to avoid damaging those valves.
Step 8: Finish the Project
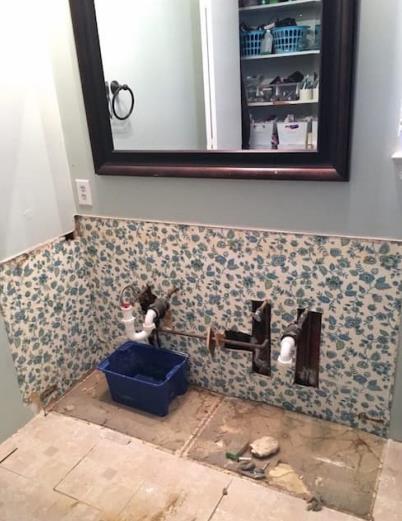
Cleaning the room is, of course, the final phase of this task. Remove any residual caulk from the wall with a putty knife or spatula. If there are other elements on it, you can wipe them off to restore its appearance.
If the new vanity is undersized or shorter than the last one, you must restore and paint the wall and floor before putting it in place. This task will make the room look renewed as if you had never installed a vanity top before the new installation.
What Is the Purpose of Removing a Bathroom Vanity?
You may need to remove your bathroom vanity for a variety of reasons. It could be that you no longer require this item in your bathroom and want to free up some space.
Another reason is that you need to replace it because your old vanity no longer matches your new interior design. So, the best option is to replace the old type with a new one.
The Final Thoughts
You now know how to remove a bathroom vanity efficiently and cost-effectively. You can drag and replace your vanity top on your own if you have the correct tool and the right mindset.
Removal does not require a large sum of money; however, if you understand how to follow our present procedures, you are ready to start.
Frequently Asked Questions About How to Remove A Bathroom Vanity
Here are the popular queries on how to remove a bathroom vanity:
People make holes in walls for two reasons: they forget to change all the mounting screws that secure the vanity to the wall or take away the backsplash. Pry the vanities away from the wall and insert wood shims for mounting screws.
Although bathroom vanities are not required to be attached to the wall, doing so can help lessen the possibility of pressure applied to the wall-hung piping, which the IRC requires. Water is less likely to run behind attached sinks since they are more stable. Detachable vanities are less expensive and easy to clean beneath.
A new vanity can completely transform the aesthetic appeal of a bathroom. It can also provide extra storage. Installing one on your own in roughly 6 to 8 hours with little planning is possible.
0 Comments for “Ways And Means on How to Remove a Bathroom Vanity Cabinet”