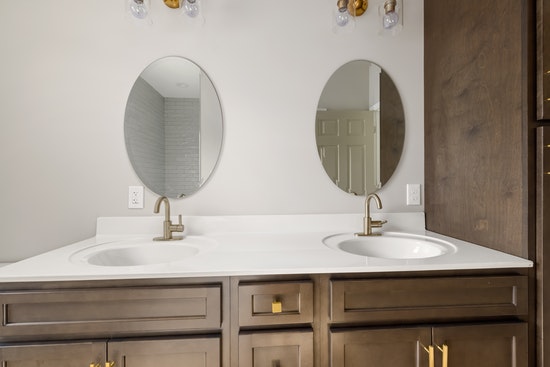
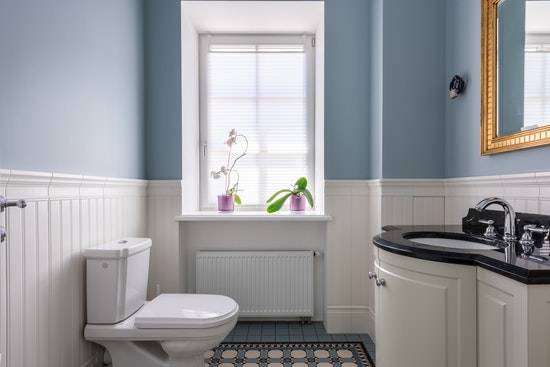
Undermount sink installation is a common household essential that many homeowners have to consider. Also, this is the typical undermount basin you find in most homes because they’re relatively simple to mount, easy to maintain, and a lot more convenient to use since the water spouts go through the walls of the sink.
In today’s article, I will present to you how to install undermount bathroom sink and the possible expenses you are likely to incur as a result of the process.

What is Undermount Basin?
As mentioned, the undermount basin is the typical fixture you find in both the bathroom and kitchen area. And the primary reason why this is the case is that the basin is designed to give you an uninterrupted water flow and prevent water spouts.
Like any bathroom sink, they are made of either ceramic or stainless steel. What this means is that they’re hygienic, stylish, and highly resistant to scratches, depreciation, and breakage, which are typical undermount sink problems.
Another reason why they are the usual bathroom sinks you find in many homes is that the procedure of installing them is straightforward, although they’re time-consuming and challenging to mount, so to speak.
This may be the case—the result is rewarding once you have put them up together as you want them to be aesthetically pleasing and functional.
Undermount Sink Installation Guide
If you’re interested in buying this type of basin and you’re planning to do the undermount sink installation on your own, there are several key points you have to take into consideration. Firstly, you have to gather the necessary tools first, such as
- Caulk gun
- Tape measure
- Utility knife
- Bar clamp
- Safety goggles
And then, the materials needed:
- Undermount basin
- Silicone sealant
- Mounting hardware
- Denatured alcohol
- Dimensional lumber (2 x 4 inches)
So what if there’s a current countertop? How would you install undermount sink in existing countertop? Now, below is the basic undermount sink installation you need to take into account:
Removal of the Old Undermount Sink
- Turn off the water system. Place a bucket in case the water from the pipeline drips.
- Clean the area of any debris and wipe it with a cloth.
- Undermount sinks are typically attached to the walls and counter tabletop with screws and silicone. Thus, you have to use a utility knife to remove them. However, you have to always wear safety glasses for the entirety of the procedure.
- Lift the bathroom sink carefully and put it on the floor.
- Use a razor to scrape off the excess silicone and clean the surface where you’re going to install the new basin with denatured alcohol.
- Let the solution dry first before installing the new one.
Install the New Undermount Sink
- Position the bathroom sink where the cutout of the former basin was situated
- If you find the basin a little heavy, then it is highly recommended that you ask for assistance from a second person
- However, if your concern is how to install undermount sink to quartz, then you can place 2x4inch dimension lumber on top of the two towels to prevent the sink from scratching. And then, use a bar clamp to drain the water pipe
- You can also use the 2x4inch dimension to prevent the underside of the sink from damaging
- Tighten the sink in order to keep them in place and mount the brackets. But can you install undermount sink without clips? Although it’s possible, it is recommended that you use them since you are working with silicone application
- Apply silicone and wipe off the excess solution
- You have to wait 24 hours and wait for the silicone to cure
- Lastly, install the drain and sink to your plumbing line before turning on the water system
Undermount Sink Installation Cost
The undermount sink can be quite expensive, even with more affordable bathroom basins. If it’s your first time installing an undermount sink, then you have to prepare a minimum of $240 to a hefty of $1,500 for a more premium finish.

Takeaway
Undermount sinks can be quite expensive, but they are the most common household fixture you’ll find in an average home because they’re easy to install. And to boost your confidence in doing the entire procedure yourself, just follow the guidelines I have relayed in today’s topic of undermount sink installation.
Frequently Asked Questions about Undermount Sink Installation
Now, the following are additional concerns that many have about the subject matter of undermount sink installation:
The undermount sink is pretty straightforward if you think about it. However, the installation procedure will take time and a lot of patience. Also, they are more challenging in comparison to drop-in bathroom sinks because it requires a ton of cleaning as well in order to keep the structure together.
The good news is that the results are rewarding once you have seen the fruits of your labor. Undermount sinks are simple yet aesthetically pleasing that can give your bathroom area a huge style boost.
It is highly suggested that you install the countertop table first and foremost before you put the bathroom sink in place. And the reason why this is the case is that the depression of the countertop will rely on the dimensions of the undermount sink you’re going to use.
If you prioritize the basin first, it will be very difficult for you to fit the sink into the table, and you won’t properly seal them as a result.
There are several ways you can install an undermount sink. The general consensus for many basin installers is that use the aid of clips or brackets to securely put the basin in place and ensures that the silicone stays together.
However, it is not really a necessity if the item is not available at the moment. But if you choose to use this method, then you have to be self-aware round the clock to make sure that the silicone won’t falter.
0 Comments for “The Basic Procedure of Undermount Sink Installation”